Ngrok – pronouce ‘en-grok’ is a fantastic bit of software produced by inconshreveable. The software lets you build temporary tunnels for your apps and development servers to the internet.
It generates an internet addressable endpoint that then forwards onto your app/service behind a firewall.
Over the last few years Ive relied on ngrok for everything from demo events used on stage to development work when I’ve needed to debug my project against real world internet services.
Due to the cheapness and ease of setup, I now use a (lot of) RaspberryPi for most of my app development inside my home network.
This post will help you setup ngrok on a RaspberryPi.
First load up your terminal, on a mac you can find this in the applications folder or simple ask Siri to open a new terminal window.
Once a new window is open you can then connect to the Pi. An example SSH command is
Where pi is the user I want to connect as, and 192.168.1.10 is the IP address of the RaspberryPi itself.
For more details on ssh’ing into a PI, please read the official documentation provided by the RaspberryPi team.
Once you are connected to the Pi its always a good idea to update the Pi software, you can do this by:
sudo apt-get update -y && sudo apt-get upgrade -y
This will get you up to date with the latest software and ready to install anything new.
Change directories into the root temp directory by:
cd /tmp/
The tmp directory is used by the system to store files that will be cleaned up at a later point, its a perfect spot for us to download our file to.
We need to grab the latest URL for ngrok ARM from the downloads page on ngrok.com. Jump to the downloads page and copy the URL relevant to your hardware.
If your using a newer RaspberryPi you can use the 64Bit edition
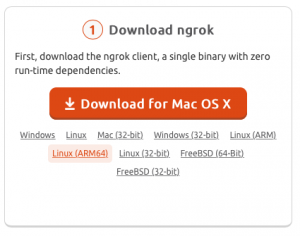
Ngrok 64Bit
Otherwise the regular ARM download will be what you will need.
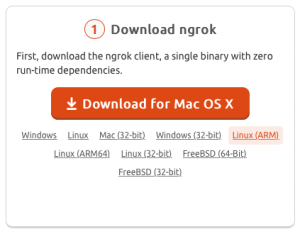
Ngrok Download
The download link will look something like:
https://bin.equinox.io/c/4VmDzA7iaHb/ngrok-stable-linux-arm.zip
We can now download the latest stable NGROK from the server by issuing the wget command.
wget https://bin.equinox.io/c/4VmDzA7iaHb/ngrok-stable-linux-arm.zip
This will download the zipped file and store it in our tmp directory.
Next we need to unzip the file. You can do this by issuing the unzip command.
unzip ngro*
You will notice here that I didn’t fill in the whole file name, Im using a wildcard to unpack everything that starts with ngro… This is because I placed the zipped file in the tmp directory there should only be one.
With the application unzipped now, we can move it into the user ‘pi’ home directory by
mv /tmp/ngrok ~/ngrok
Once moved we can now jump into the pi directory
cd ~
The ~ symbol references the current user we are logged in as, in this case, its user pi.
You can now test your ngrok app by issuing it a command, for example
./ngrok http 3000
will create a HTTP and HTTPS tunnel that forwards traffic to port 3000 running on your RaspberryPi.
I hope this (short) guide is helpful for when you need to test your app in the real world!