You can find part two of this series here.
In the years I’ve been learning to fly a plane, two things always come up;
1. Whats the METAR (weather)
2. How does it effect the VFR Sectional (map)
Learning to read both the weather and maps for flying is an essential part of learning to fly a plane.
1. You need to know where you are going
2. You need to make sure you don’t fly into a thunderstorm…
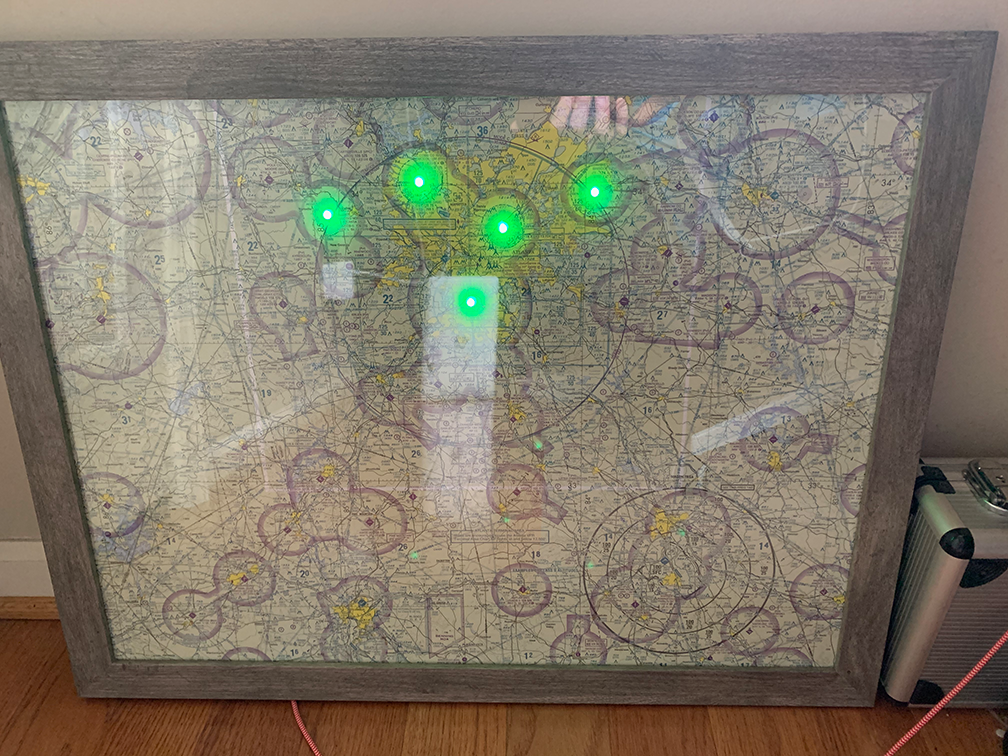
Once I started to accumulate a few maps, I thought I would make good use of them by creating a fun, fast and visually appealing way to read the weather at a few airports around my local area.
Finding some very fancy (and cheap) frames from Michaels, I cut out and glued the sectional to the backboard and then drilled out the holes for the airports I wanted to light up.
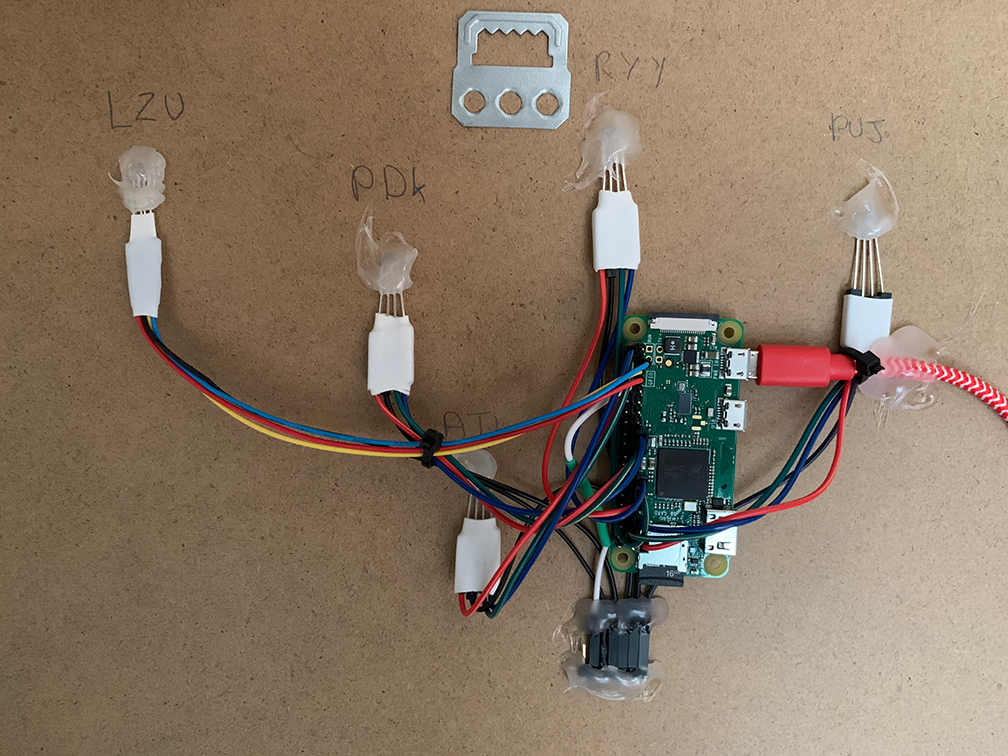
For this project I decided to go for 5 Tri-Color LED’s, these were all wired up with the common pin to ground and the Red, Green and Blue LED’s to the RaspberryPi GPIO Pins.
Whats needed for this project
To get started on this project you are going to need:
1. VFR Sectional Map of the area you want
2. Picture Frame
3. RaspberryPi, I chose to use a RaspberryPi Zero Wireless here
4. Tri-Color LED’s
5. Some wires and some hot glue.
First off, identify what airports you want to get information on, then measure and cut your wires.. Tragically I failed to do this (so learn from my mistake) and so you can see from the pictures that some of the wires are a lot tighter than they should really be.
*Pro Tip*
I highly recommend getting a 90 Degree header for the RaspberryPi, that way your wires and pins will be more flush with the picture frame rather than sticking out. If I were to do this project again, hands down I would grab some from eBay or Amazon.
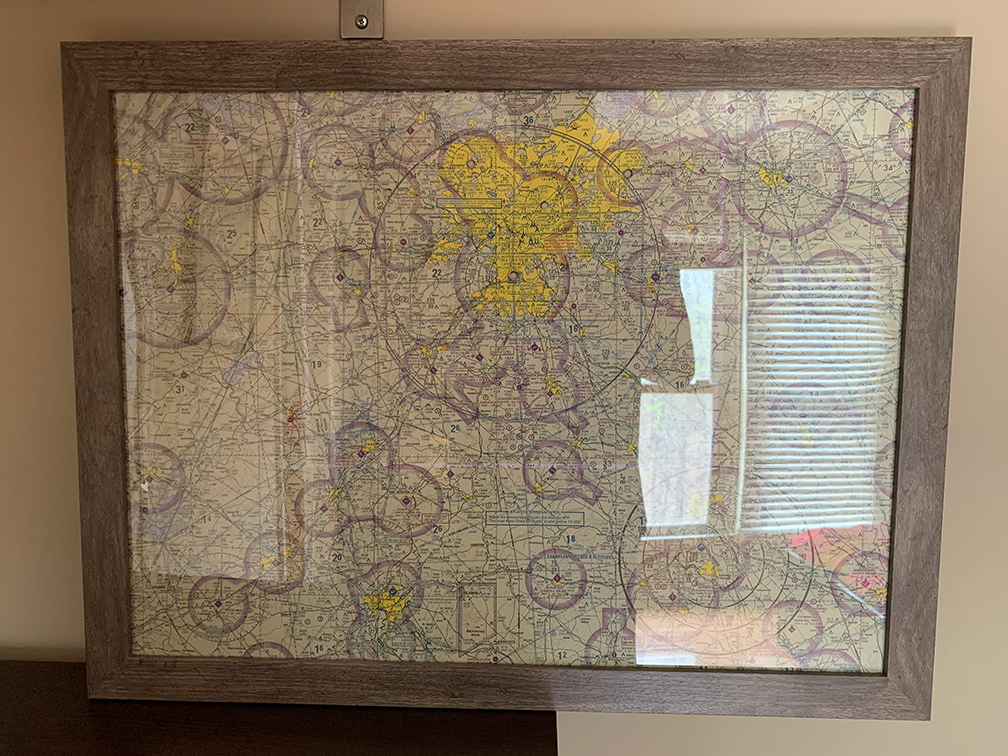
Once you have your map and are happy with what airports you want to light up, go ahead and cut the rest of the map away and glue the paper to the backboard.
I used PVA glue, but really any glue suitable for paper will be great here.
With the glue dry I then attached the LED’s, RaspberryPi and USB Power cable.
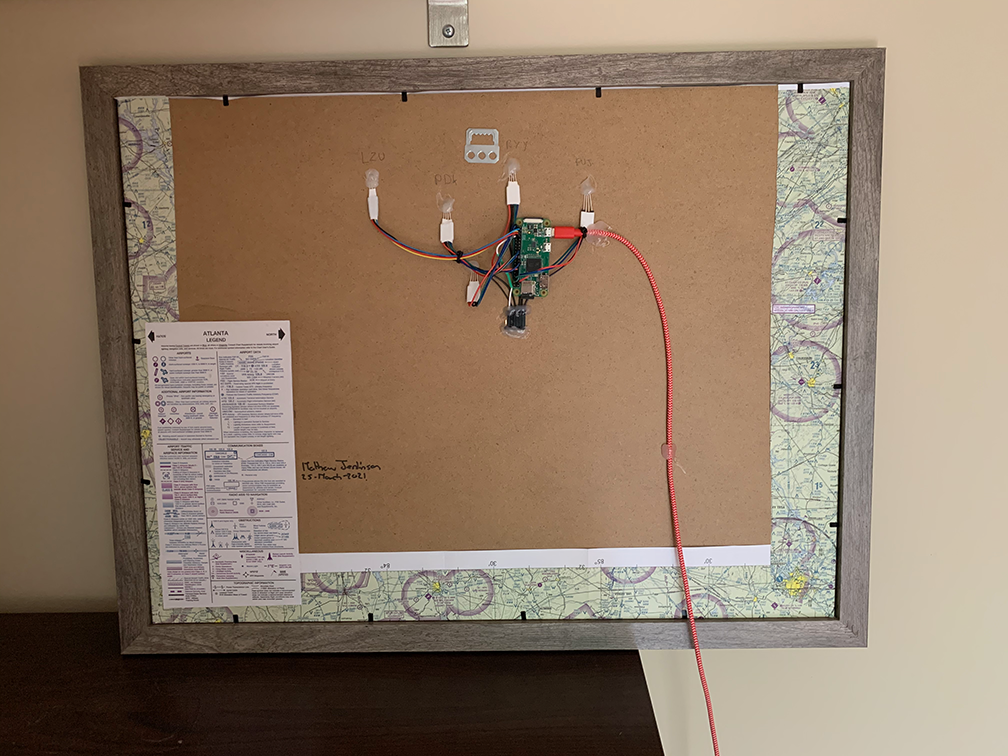
At this point the hardware is done and it looks like this:
Time to move onto the software! You can find part two of this post here